| Complex 9 launch pad |
| Complex 9 launch pad |
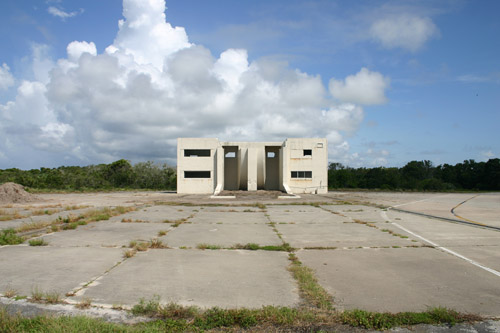
We are looking at the rear of the launch pad. To either side of us, we can
see rails leading to the pad. The rails were used to move a mobile weather cover
out to the pad as needed.
|
Photo courtesy of Steve Sanders Mission Flight Control Officer, CCAFS |
| Aerial view | CCAFS map | Website map | Tour home |
',441,291))